Shooting a Timelapse Video: A Complete Guide for Photographers
Shooting a timelapse video is an extraordinary method to capture the essence of time in a visual format. It is an engaging storytelling technique that has gained popularity in various fields, especially in photography and videography. By condensing hours, days, or even months into a few minutes of cinematic footage, you can create a mesmerizing visual experience that enthralls your audience. In this guide, we will delve deeply into the art and science of timelapse photography.
What is a Timelapse Video?
A timelapse video is composed by taking a series of images at set intervals and then playing them back at a faster frame rate. This technique highlights movement or change that occurs slowly over time, making it ideal for capturing the beauty of natural phenomena such as sunsets, blooming flowers, or the hustle and bustle of city life.
Why You Should Consider Timelapse Photography
Timelapse photography is not just an artistic endeavor; it has numerous applications:
- Real Estate Marketing: Showcase properties and their surroundings by capturing the hustle of a neighborhood or the transition of daylight.
- Documentary Projects: Effective for illustrating change within certain environments over time.
- Event Coverage: Capture longer events like weddings or festivals in a unique way.
- Artistic Expression: Create stunning art pieces that resonate with viewers on a deeper level.
Essential Equipment for Shooting a Timelapse Video
To effectively capture a timelapse video, having the right equipment is crucial. Here's a list of essential gear you may need:
- Camera: A DSLR or mirrorless camera that allows manual settings.
- Tripod: To ensure stability and prevent any shake or movement in your shots.
- Intervalometer: A device or camera feature that triggers the shutter at predetermined intervals.
- Lenses: Depending on the scene, you may need wide-angle lenses for landscapes or macro lenses for close-ups.
- Batteries: Always bring extra batteries as timelapse photography can consume power quickly.
- Memory Cards: Sufficient storage is critical, especially for lengthy shoots.
Preparing for Your Timelapse Shoot
Preparation is key when shooting a timelapse video. Here are steps to ensure a successful shoot:
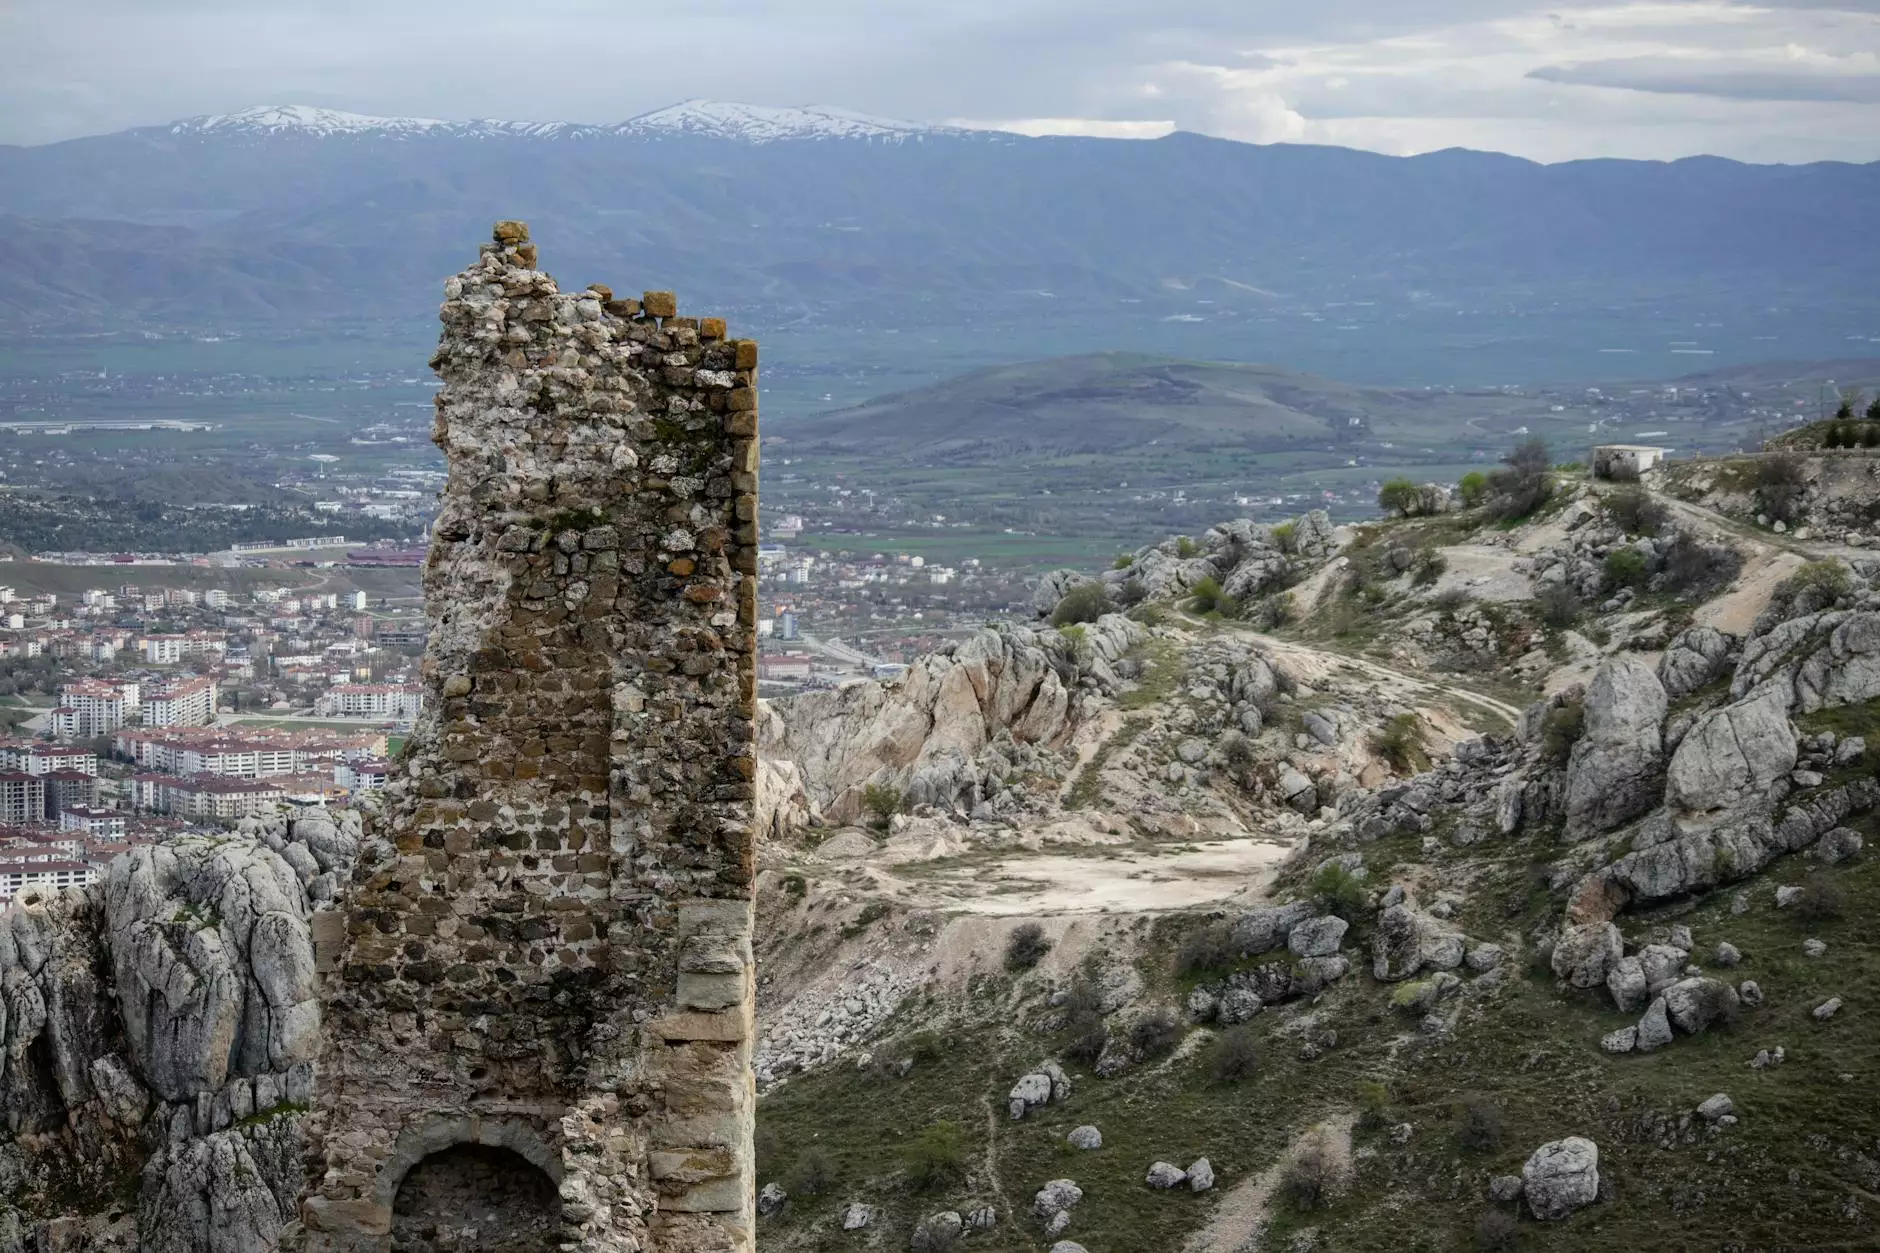
Choose Your Subject Wisely
Look for subjects that naturally exhibit change over time. Great options may include:
- Rising and setting sun
- Cloud movements
- Construction projects
- Plant growth
- People in busy environments
Determine the Timeframe
Establish how long you wish to record and what the final output timeframe will be. A common ratio is 300 frames for every 1 minute of output. For instance, recording for 30 minutes will yield a 6-second clip.
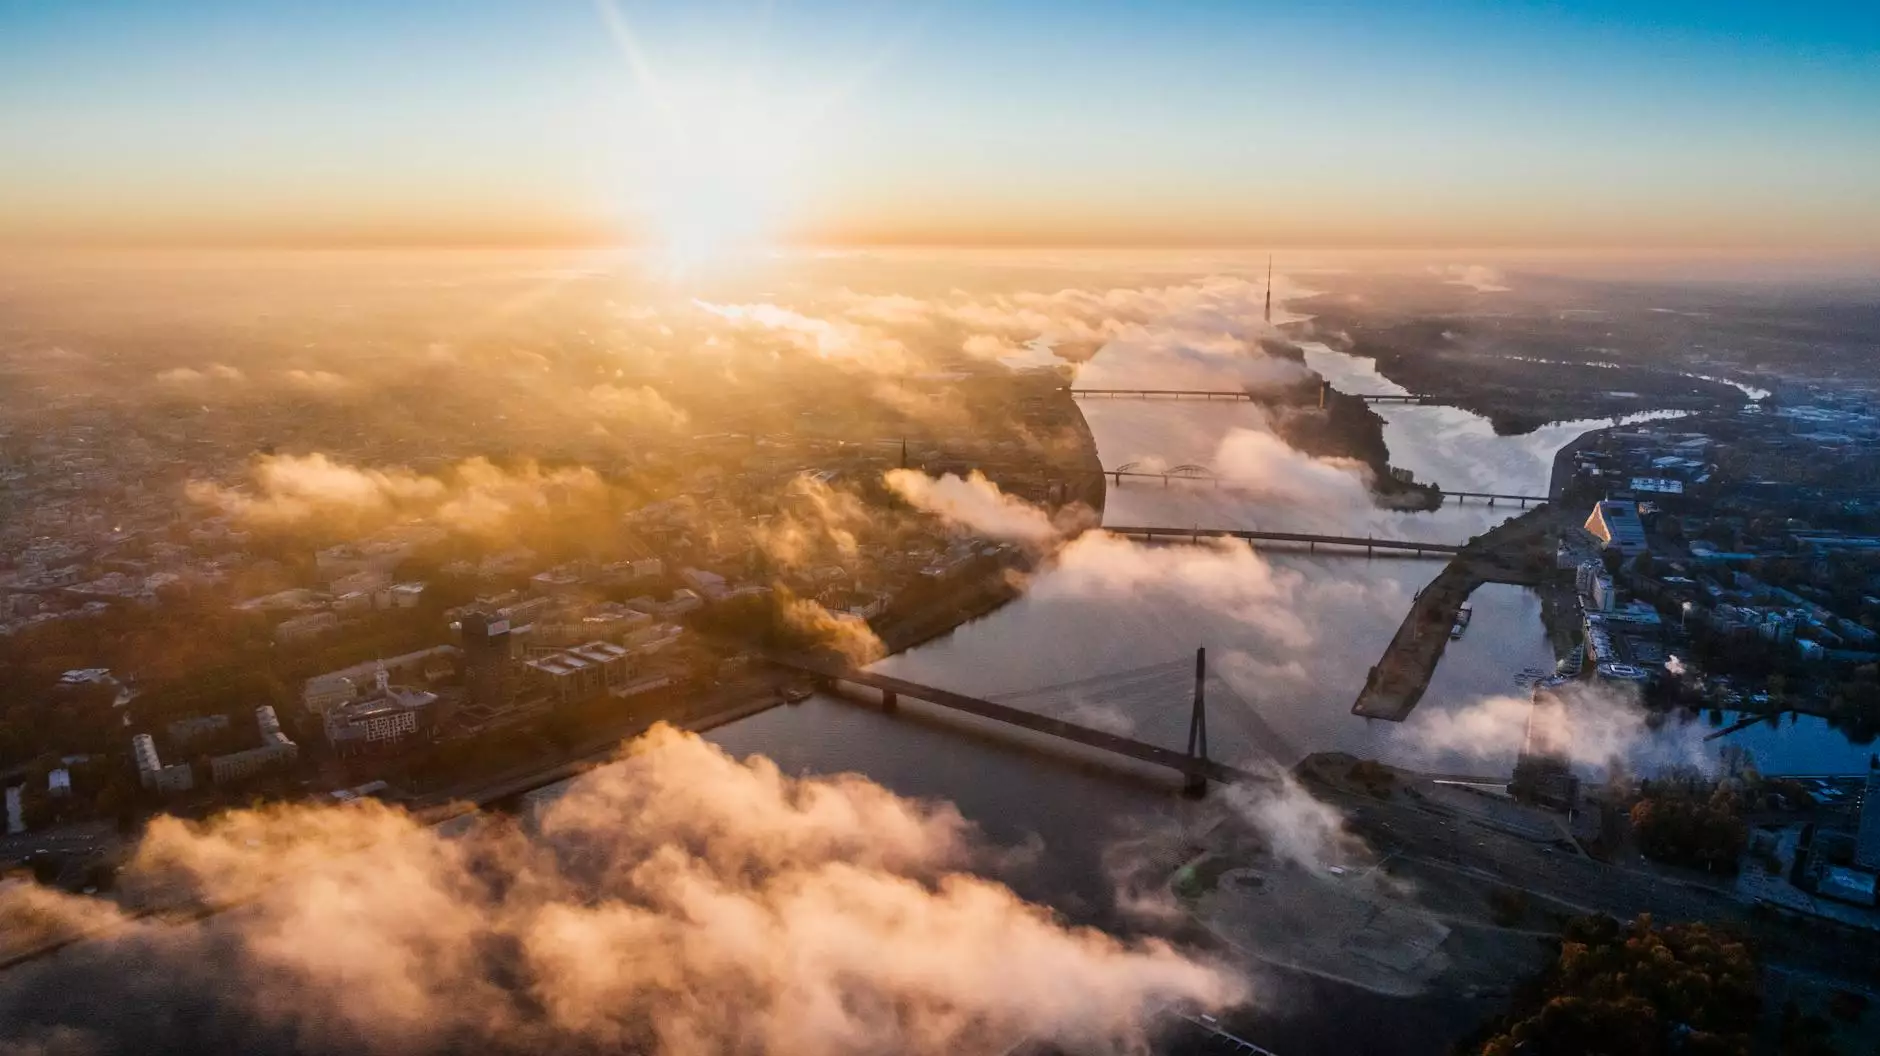
Select the Right Time of Day
Golden hours (early morning or late afternoon) often provide the best lighting conditions for stunning visuals.
Camera Settings for Timelapse Photography
Proper camera settings will significantly influence the quality of your timelapse video. Here’s a breakdown:
Shutter Speed
A good rule to follow is the reciprocal of your frame rate. For instance, if you are capturing at 30 frames per second, aim for a shutter speed of 1/30 or faster to prevent motion blur.
Aperture
Use a wider aperture for shallower depth of field and to let in more light, which can add to the artistic effect.
ISO
Keep the ISO as low as possible to reduce noise. Adjust it as necessary depending on lighting conditions.
Executing the Timelapse Shoot
Once your preparations are complete, it’s time to shoot your timelapse video. Here are some tips:
- Stability is Key: Ensure the tripod is stable, and avoid touching your camera once the shoot begins.
- Monitor Your Battery: Continuous shots can drain your battery; check periodically.
- Be Patient: Timelapse takes time. Stay aware of your environment and be prepared to adjust as conditions change.
Editing Your Timelapse Video
Post-production is where your timelapse will come to life. Here are some steps to follow:
Importing Your Footage
Transfer your images into an editing software such as Adobe Premiere Pro, Final Cut Pro, or even free options like DaVinci Resolve.
Setting the Frame Rate
Typically, a frame rate of 24 or 30 fps will be used for playback.
Color Grading
Enhance the visual appeal through color grading to make your footage more captivating. Adjust contrasts, brightness, and saturation to achieve the desired mood.
Rendering Your Video
Finally, render your project in the highest quality to ensure it looks pristine on whatever platform you choose to showcase it.
Showcasing Your Timelapse Work
Once you’ve created your stunning timelapse video, it’s time to share it with the world. Utilize platforms like:
- YouTube: Optimize your video title and description with relevant keywords to enhance visibility.
- Vimeo: Ideal for professional showcases; it allows for high-quality uploads.
- Social Media: Sharing on Instagram or Facebook can drive traffic to your portfolio.
Conclusion: The Beauty of Timelapse Video
In conclusion, shooting a timelapse video is an extraordinary way to combine technology, artistry, and storytelling. Whether you’re a photographer aiming to expand your portfolio or someone looking to delve into a new form of visual media, mastering timelapse photography offers endless possibilities. Remember to keep experimenting with various subjects, settings, and techniques to truly make your work stand out in the competitive photography market.